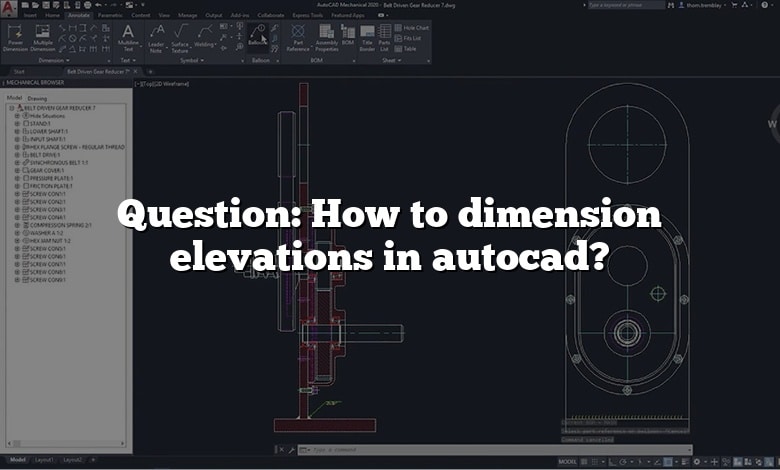
Question: How to dimension elevations in autocad? , this article will give you all the information you need for this question. Learning AutoCAD may seem more complicated than expected, but with our multiple free AutoCAD tutorialss, learning will be much easier. Our CAD-Elearning.com site has several articles on the different questions you may have about this software.
AutoCAD can be considered as one of the most popular CAD programs. Therefore, companies and industries use it almost everywhere. Therefore, the skills of this CAD software are very advantageous and in demand due to the highly competitive nature of the design, engineering and architectural markets.
And here is the answer to your Question: How to dimension elevations in autocad? question, read on.
Introduction
Furthermore, how do you find the dimensions of elevation?
As many you asked, how do you do elevations in Autocad?
- Draw an elevation line in the drawing.
- Select the elevation line.
- Click Building Elevation Line tab Modify panel Generate Elevation.
- Select the type of elevation object you want to create:
- For Style to Generate, select a style for a 2D elevation.
Additionally, how do you dimension in Autocad?
Quick Answer, how do I get elevation view in Autocad?
How do you show elevations in ArchiCAD?
To set these options, open the Section/Elevation/IE Settings Dialog box, go to the Story Levels panel, and use the “Show Story Levels” pop-up.
What is dimensions on an elevation?
Dimensions on the elevation are mainly vertical height dimensions. Features that must be dimensioned are: • Thickness of the footer. •
How do you create an elevation?
- Open a plan view.
- Click View tab Create panel Elevation drop-down (Elevation).
- (Optional) In the Type Selector, select a view type from the list, or click Edit Type to modify an existing view type or create a new view type.
- Place the cursor near a wall, and click to place the elevation symbol.
How do you draw a building elevation?
How do you put dimensions on a drawing?
- Click .
- Hover over the drawing view to activate the snap points.
- Click the first line highlight.
- Click the second line highlight. Note that only parallel lines will highlight for selection.
- Drag to place the dimension box.
How do you do dimensions?
All box dimensions are written as length x width x height. For example, 14″ x 11″ x 4″ means 14″ (L) x 11″ (W) x 4″ (H)”.
How do you edit dimensions?
- Right-click a dimension on the drawing sheet and select Edit.
- In the Edit Dimension dialog box, click in the text box.
- In the Edit Dimension dialog box, edit the dimension text.
- If needed, change the line justification or the position of the line.
What is the elevation view?
This is an elevation view. An elevation is a view from the side of an object, when drawing interior elevations, this would represent one of the walls. This would include any windows or doors as well as any built-in furniture that is in direct contact with the wall. This is a section view.
What are the 4 elevations?
Elevations show how your property will appear from various perspectives. There are several forms of elevation in relation to these precise angles. Front elevations, side elevations, rear elevations, and split elevations are some examples.
How do you use elevation symbol?
How do you Create multiple interior elevations in one room?
To create four new internal Elevation views of the kitchen appliances, go to the View tab and select Elevation. When you hover over your room, a Revit Elevation Marker will be displayed on the end of your cursor. Notice how the arrow on the marker always points to the nearest wall.
How do you dimension a floor plan in Revit?
- Click the exterior face of the west wall.
- Click the exterior face of the east wall.
- Move the cursor above the building, and click to place the dimension.
How do you annotate elevations?
- Click Annotate tab Tools panel Annotation Tools.
- Select an elevation label tool. If necessary, scroll to display the tool that you want to use.
- Specify the insertion point of the elevation label. You can move or hide the Properties palette to expose more of the drawing area.
- Click OK.
How do you show levels in sections?
- Select the tag for the section or elevation with the missing levels (or select the crop region within the affected view).
- In the Properties dialog click the button for Far Clipping.
- Select the No clip checkbox and click OK.
How do I add elevation markers in ArchiCAD?
Bottom line:
I hope this article has explained everything you need to know about Question: How to dimension elevations in autocad?. If you have any other questions about AutoCAD software, please take the time to search our CAD-Elearning.com site, you will find several AutoCAD tutorials. Otherwise, don’t hesitate to tell me in the comments below or through the contact page.
The following points are being clarified by the article:
- How do you show elevations in ArchiCAD?
- What is dimensions on an elevation?
- How do you create an elevation?
- How do you do dimensions?
- What is the elevation view?
- What are the 4 elevations?
- How do you use elevation symbol?
- How do you dimension a floor plan in Revit?
- How do you annotate elevations?
- How do you show levels in sections?