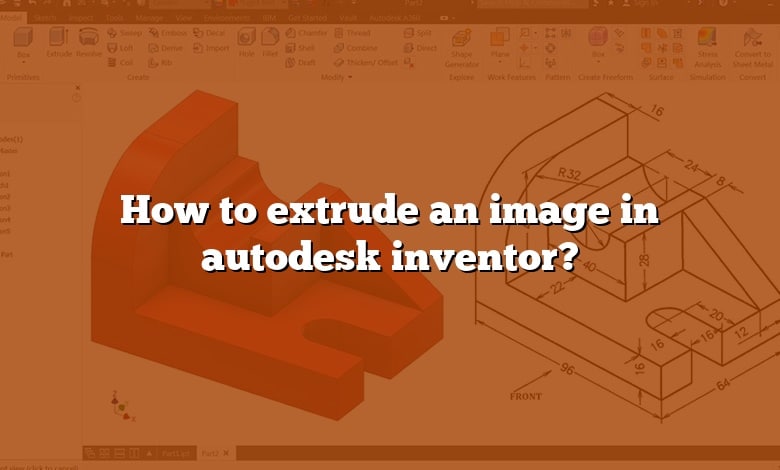
Starting with this article which is the answer to your question How to extrude an image in autodesk inventor?.CAD-Elearning.com has what you want as free Autodesk inventor tutorials, yes, you can learn Autodesk inventor software faster and more efficiently here.
Millions of engineers and designers in tens of thousands of companies use Autodesk inventor. It is one of the most widely used design and engineering programs and is used by many different professions and companies around the world because of its wide range of features and excellent functionality.
And here is the answer to your How to extrude an image in autodesk inventor? question, read on.
Introduction
Frequent question, can you extrude an image in Inventor? You’ll probably be aware that you can bring a image into an Inventor sketch and create a decal of it, but this obviously won’t allow you to extrude any shapes contained in your image. What we need to do is convert an image to dwg lines, and for that we can use an Autodesk product called Raster Design.
Additionally, how do you extrude an object in Inventor?
- In the browser, select an unconsumed 2D sketch that represents a profile or cross-section of the extruded feature or body you want to create.
- On the ribbon, click 3D Model tab Create panel Extrude .
- In the Extrude dialog box, click Profile and then select the profile to extrude.
Similarly, how do I trace an image in Autodesk Inventor?
Also the question is, how do I emboss an image in Inventor?
- Click 3D Model tab Create panel Emboss .
- Using the Profile selector, click in the graphics window to select one or more profiles (sketch geometry or text) to emboss or engrave.
- Choose an emboss type:
- Specify the options associated with the type of emboss you’re performing:
- Click OK.
How do I insert an image into an object in Inventor?
- Click the image and drag to move it horizontally or vertically.
- Click corners to pivot the image.
- Click an edge to resize the image. It retains its original aspect ratio .
What is the Extrude command used for?
Creates a 3D solid from an object that encloses an area, or a 3D surface from an object with open ends. Objects can be extruded orthogonally from the plane of the source object, in a specified direction, or along a selected path. You can also specify a taper angle.
How do you Extrude a sphere in Inventor?
How do you Extrude two sketches in Inventor?
How do I project an image in Inventor?
How do I convert a picture to CAD?
- Open AutoCAD and start a new blank drawing.
- Scan your image and save the file as a BMP, JPG, PNG or TIF file.
- Import the scanned image into AutoCAD.
- Apply a new layer for tracing.
- Trace over your scanned image.
- Establish the scale of your drawing.
How do you make an image transparent in Inventor?
How do I extrude a logo in AutoCAD?
What is Emboss in Inventor?
The Emboss feature raises or recesses a profile relative to the model face by a specified depth and direction. The embossed area can provide a surface for a decal or painting. A recessed embossed area can provide clearance for another component in an assembly (not available in Inventor LT).
How do you create a curved extrusion in Inventor?
How do I digitally trace an image?
- Create a new duplicate layer.
- Reduce the opacity to 50%.
- Lock the layer.
- Create a layer called “Tracing.”
- Select the background layer.
- Press Ctrl + Backspace (PC) or Command + Del (Mac).
- Zoom in to 200%.
- Select a color and tool.
How do you enlarge a picture for tracing?
- Download the PDF file of what it is you want to trace. Open the image up in Adobe Acrobat Reader.
- View your image.
- Click on print.
- Adjust the tile scale box to a higher percentage.
- Print the image and put your puzzle together!
- Transfer on Canvas.
How can I trace a picture without moving the screen?
How 3D images are created?
A 3D image is created by taking two shots of the same scene, where one is a little offset to the other. This slight difference is enough to trick your brain into thinking you are looking at an image with depth. But in fact, you are looking at a 2D flat picture.
How do you make a flat picture look 3D?
Wrap Up:
I believe I have covered everything there is to know about How to extrude an image in autodesk inventor? in this article. Please take the time to look through our CAD-Elearning.com site’s Autodesk inventor tutorials section if you have any additional queries about Autodesk inventor software. In any other case, don’t be hesitant to let me know in the comments section below or at the contact page.
The article provides clarification on the following points:
- How do I insert an image into an object in Inventor?
- What is the Extrude command used for?
- How do you Extrude a sphere in Inventor?
- How do you Extrude two sketches in Inventor?
- How do I convert a picture to CAD?
- What is Emboss in Inventor?
- How do you create a curved extrusion in Inventor?
- How do I digitally trace an image?
- How can I trace a picture without moving the screen?
- How 3D images are created?