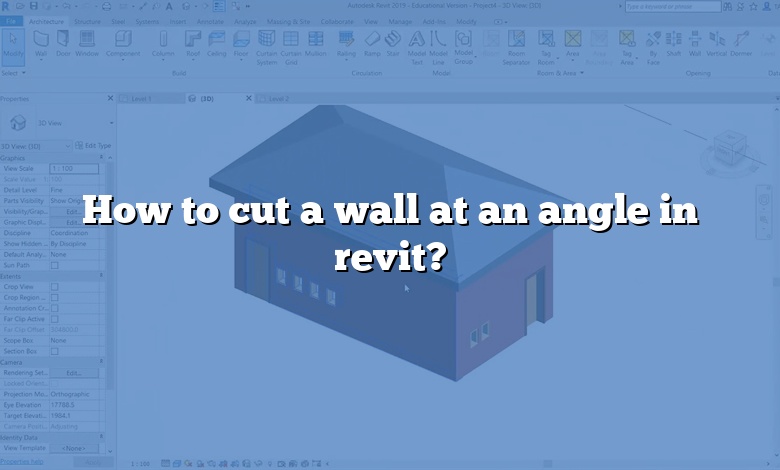
Subsequently, can you angle a wall in Revit? Select a wall type from the Type Selector. If desired, use the Properties palette to adjust instance properties before placing a wall. On the Properties palette Constraints Cross-Section, select Slanted. The Angle From Vertical parameter displays.
Moreover, how do you cut a wall angle?
Also know, how do you make a slanted wall in Revit 2019?
- Place a wall.
- Select the wall.
- In the “Properties” pallet, under “Constraints,” look for “Cross-Section” in the left column, then select “Slanted” from the right column.
- In “Angle From Vertical,” type in the desired angle.
As many you asked, how do you chamfer a wall in Revit?
How do you make a triangle wall in Revit?
How do you cut a 45 degree angle?
How do you cut a 22.5 angle?
How do you cut an angle for a corner?
How do you make a diagonal wall?
How do you make a curved sloped wall in Revit?
What is a slanted wall called?
If your walls have a slope (also called eaves), I have some ideas for how to design your living room, bathroom, kitchen, office, bedroom, or play room to work with the ceilings and not against them.
How do you Bevel in Revit?
- Pick the curve or curves. Note that you can use surface edges. Note:
- Choose Surfaces > Planar Surfaces > Bevel .
- Do any of the following: Drag the to change the bevel width. Drag the to change the bevel depth.
- Click Go to create the surface. Note:
Can you chamfer in Revit?
If you ever need to create Chamfer Lines or Fillet Arcs, this app is a no-brainer. It adds a Chamfer feature to Autodesk® Revit® and improves upon the existing Fillet Arc by allowing you to batch process. Both Chamfer and Fillet come with plenty of geometric options to save the user’s time.
Is there a fillet command in Revit?
Click Modify | Place Lines tab (or respective Modify | Place
How do you cut a wall in 2021 Revit?
In the Geometry panel, click Cut Geometry. Revit prompts you to select the element to be cut or the host wall. Select the north wall. Then Revit prompts you to select a wall parallel to the host or a family instance to cut with.
How do you cut an intersecting wall in Revit?
How do you cut a wall in half in Revit?
- Click Modify tab Modify panel (Split Element).
- Place the cursor on the wall or line at the point you wish to split. Note: A stacked wall can only be split vertically.
- Click to place the split. A permanent horizontal line displays on the wall indicating the split.
How do you change the wall shape in Revit?
- In the drawing area, select the wall, and click Modify | Walls tab Mode panel Edit Profile.
- If the active view is a plan view, the Go To View dialog displays, prompting you to select an appropriate elevation or section view.
- Use the tools on the Modify and Draw panels to edit the profile as needed.
How do you make a custom wall in Revit?
- Begin with a wall assembly of your choice.
- Load the .
- Stack the two wall types together.
- Edit your wall’s layer constraints.
- Use the “Match Type Properties” command to apply the adjustments to the adjacent walls.
- Make further edits to your wall type.
- Keep exploring!
How do I make a wall family in Revit?
How do you figure angle cuts?
- Measure the inside angle of the wall. Loosen the screw on the degree finder and place it on the corner of the wall.
- Read the degree indicated by the degree finder. The red indicator arrow will be pointing at a degree measurement.
- Measure the outside angle of the wall with the degree finder.
How do you calculate Mitre angle?
To calculate the proper miter angle for trim-work moldings, simply divide this angle reading by 2. In the example shown, the inside corner is 90.5 degrees—nearly square. The precise miter angle of your moldings should be 45.25 degrees. (In practice, this is pretty nearly a perfect corner.)