Try going to a view where the grids are visible, right-click at the grid, and choose Maximize 3D Extents. See if it shows up in the view in question. A good general rule would be to set up the primary levels before laying out the grid. This will force the display of grids to show on all levels.
Beside above, why are grids not showing in elevation Revit? If the elevation or section mark is not within the boundary, the grids and levels will not be shown in the view.
Best answer for this question, how do you unhide a grid in Revit?
- Open a view that displays grid lines.
- Select a grid line. Revit LT displays a check box near the grid bubble.
- Clear the check box to hide the bubble, or select it to show the bubble. You can repeat this process to show or hide the bubble at the opposite end of the grid line.
Considering this, how do I turn on gridlines in Revit? To place a grid line, on the Architecture tab, click Grid. On the draw panel, select the placement type. Grid lines can be straight segments or arc segments. The Multi-Segment tool lets you place a grid made up of more than one segment, such as a grid line with a small jog in it.
As many you asked, how do you create a grid and level in Revit?
- Design the Preliminary Layout. Create a Conceptual Design. Add Levels and Grids. Use DWG and Image Files.
- Add Basic Building Elements.
- View the Model.
- Add More Elements to the Model.
- Refine the Model.
Datum planes such as grids aren’t visible in views if they don’t intersect the view’s plane. Try going to a view where the grids are visible, right-click at the grid, and choose Maximize 3D Extents. See if it shows up in the view in question.
Why are levels not showing in section Revit?
Causes: There can be many reasons that an element is not displayed within a Revit View. For levels to be visible in a section/elevation view, a portion of the level must exist within the view depth of the section or elevation.
How do you hide gridlines in Revit?
- Open a view that displays grid lines.
- Select a grid line. Revit Architecture displays a check box near the grid bubble.
- Clear the check box to hide the bubble, or select it to show the bubble. You can repeat this process to show or hide the bubble at the opposite end of the grid line.
How do you hide level lines in Revit?
To hide an individual level in the view, select it and, from the right-click menu, select Hide in View Elements.
How do you extend grid lines in Revit?
- Open a view that displays grid lines.
- Select a grid line, and click Modify | Grids tab Properties panel (Type Properties).
- In the Type Properties dialog, do the following: For Center Segment, select Continuous.
- Click OK. Revit updates all grid lines of this type in all views.
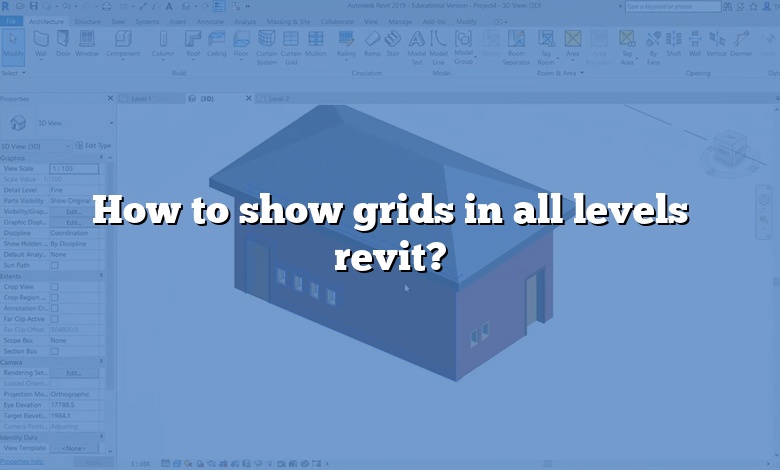
How do you show grid lines in 3D view in Revit 2021?
- Open a 3D view.
- In the 3D View Properties palette, under Graphics, click the Edit button next to Show Grids.
- In the Show Grids dialog, check the boxes for the levels where you want the grid lines to be displayed.
- Click OK to save your changes and exit the Show Grids dialog.
How do you use a guide grid in Revit?
How do I add a column grid in Revit?
How do you manage all levels in Revit?
- Set the Display to “Entire Project”.
- Set the Sort By to “Level”
- Set the filter to
- Select the elements you need to move.
- Look at the Properties palette for the Level property.
- If Level is an editable property for all elements, switch the level to the proper Level name.
What are levels and grids in Revit?
Revit Levels and Grids are really the skeleton of building projects. Typically Levels in Revit are used to indicate the locations of floors, foundations, and the roof of a building in section and elevation views. More recent versions of Revit include Levels in 3D views. Grids are used to host columns and walls.
How do you control the extents of a view in Revit?
- Open a 3D view.
- On the Properties palette, under Extents, select the Section Box option.
- Click OK.
- Select the section box and use the drag controls to modify the extents, as necessary. The following image shows the section box selected with the blue arrow drag controls visible.
How do you change from 2D to 3d grid in Revit?
If the view is not cropped, or the grid’s 3d extent is inside the view crop, then you can click on the 2d/3d label to switch.
How do I use a scope box in Revit?
- In a plan view, click View tab Create panel (Scope Box).
- On the Options Bar, enter a name and specify a height for the scope box, if desired.
- To draw a scope box, click in the upper left-hand corner to start the box.
How do you make elements visible in Revit?
Click View tab Graphics panel (Visibility/Graphics). On the Model Categories tab and Annotation Categories tab, check the Visibility settings for the types of elements that you added. If visibility for these elements is turned off, select the Visibility check box to make them visible.
How do you show elevation markers in Revit?
Float your mouse over the location of the markers. They will highlight. Right click. Show annotation in view.
How do you find missing levels in Revit?
Where is Revit link display settings?
Click View tab Graphics panel (Visibility/Graphics). On the Revit Links tab, for the linked model, do the following: In the Visibility column, select the check box. Click in the Display Settings column.
How do you unhide elements in Revit?
Select the element. Do one of the following: Click Modify |
How do you change level lines in Revit?
- Resize level lines: Select a level line, click on the blue grips, and drag the cursor.
- Select the box near the end of the level line to display the level annotation bubble.
- Change the level name: Select the level and click the name box.
How do you hide elevation markers in Revit?
- In the drawing area, select the triangle on the elevation tag.
- On the Properties palette, select a value for the Hide at Scales Coarser Than parameter.
- Click OK.
What is multi segment grid in Revit?
In Autodesk Revit 2013, you can now create multi-segmented gridlines. This provides capability for you to span grids across different segment of a building without creating multiple grids with multiple grid numbers.