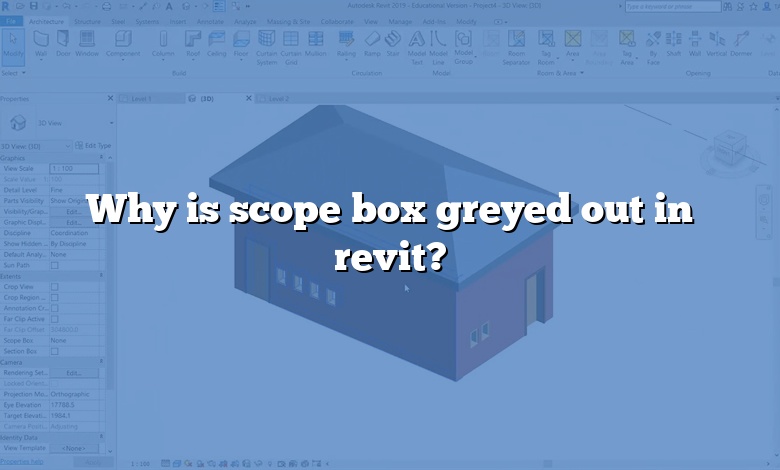
There are some situations where the Scope Box property of a view is greyed out – so you cannot assign a Scope Box to the view. The answer may be to do with the Crop Boundary – and it may not be obvious, especially if the crop boundary is hidden.
Quick Answer, how do you turn on Scope box in Revit? Select the scope box, and on the Properties palette, enter a value for the Name property. To draw a scope box, click in the upper left-hand corner to start the box.
Additionally, why can’t I select a scope box in Revit? Looks like your scope box is pinned and you’re unable to select it. Bottom of your Revit screen select the pin icon so there is no longer a red x and your problem will be fixed. If that icon has an X through it then any element you’ve pinned you will not be able to select.
Furthermore, how do you use the Scope box in Revit 2020?
Also, how do you manage scope boxes in Revit?
- Set Display to “Entire Project”
- Set Filter to
- Select all Scope Boxes to be copied.
- From Revit’s Modify tab, select the Copy to Clipboard tool.
- Open the new file.
- Use Paste to transfer to all of the Scope Boxes into the new project.
- Open a view in which you can see the scope box.
- Select the scope box.
- On the Properties palette, for the Views Visible property, click Edit.
- Locate the appropriate view row (for example, South Elevation), and find its value in the Override column.
- Click OK.
How do you turn off scope boxes in Revit?
- Click Modify | Scope Boxes tab View panel Hide in View drop-down (Hide Elements).
- Right-click a scope box, and click Hide in view Elements.
How do you crop a view in Revit?
- If the view is not cropped, On the View Control Bar, click (Crop View).
- If the view is cropped, but the crop region is not visible, click (Show Crop Region) on the View Control Bar.
- Resize the crop region as necessary by using the drag control or setting the size explicitly.
Which elements can a scope box can control select all that apply?
Scope boxes are used to control the extents of elements like grids, levels and reference planes. Each of these elements can be assigned to a specific scope box, limiting the 3D extents to the dashed green line limit.
How do you edit a section box in Revit?
In Revit®, the ‘Section Box’ command is used to clip the viewable portion of a 3D view. You can activate it simply by checking the Section Box entry in Properties – Extents. After enabling the section box, you can modify its extents using ‘drag’ controls in the 3D view.
Can you change the shape of a scope box in Revit?
How do you remove a scope box?
Just Click Delete Unused to delete all unused Scope Boxes – those which are not used by any views, levels, grids, or reference planes. If you would like to select exactly which Scope Boxes to delete instead of all unused you may also check the box before each Scope Box and use the Delete Checked button.
Where is the hidden scope box in Revit?
The selected scope box is no longer visible in the view. (The scope box is still visible in other views.) Open the view in which one or more scope boxes display, select a scope box, and do either of the following: Click Modify | Scope Boxes tab View panel Hide in View drop-down (Hide Category).
How do I crop viewport?
- Select the viewport.
- Select the command.
- Click Crop to enter Edit Crop mode.
- Create a 2D object such as a rectangle, circle, or polyline.
- Click Exit Viewport Crop to return to the sheet layer or design layer.
- The cropped viewport displays; in the Object Info palette, the Crop status changes to Yes.
How do you reset crop view in Revit?
Note: If you want to reset an edited crop to a rectangular shape, select it, and click Edit Modify |
How do you edit a viewport in Revit?
- Open the sheet.
- In the drawing area, select a view on the sheet.
- Click Modify | Viewports tab Viewport panel (Activate View).
- Modify the view as desired.
- To deactivate the view on the sheet, double-click outside of the view, or right-click, and click Deactivate View.
How do you make elements visible in Revit?
Click View tab Graphics panel (Visibility/Graphics). On the Model Categories tab and Annotation Categories tab, check the Visibility settings for the types of elements that you added. If visibility for these elements is turned off, select the Visibility check box to make them visible.
How do you propagate extents in Revit?
- Select the datum.
- Click Modify |
tab Datum panel (Propagate Extents). - In the Propagate Datum Extents dialog, select the parallel views in which you want the datum to look the same, and click OK.
How do you make a non editable element in Revit?
Click Collaborate tab Manage Collaboration panel (Worksets). In the Worksets dialog, click the Editable value next to the workset name, and select Yes or No.
How do I enable section box?
To display the section box, in the Properties palette for a 3D view, select Section Box. When a section box is first displayed, the extents of the visible geometry are used to define the extents of the section box. Select the section box and use the grip controls to resize the extents.
How do you create a custom section box in Revit?
How do you crop a drawing on a sheet in Revit?
Can you crop a drafting view in Revit?
Note: Crop Regions should not be used with drafting views, and this option has been disabled in the View Control Bar. However, a crop can be enabled using a keyboard shortcut..
How do I crop a view in Revit 2018?
What is crop region in Revit?
The crop region defines the boundaries for a project view. You can display a model crop region and an annotation crop region in all graphical project views. Perspective 3D views do not support the annotation crop region. To work with crop regions, you can. create polygonal crop regions.
How do I edit a viewport line?
- Click a layout tab.
- Click Layout tab Layout Viewports panel Clip.
- Select either an existing object to designate as the new viewport boundary, or specify the points of a new boundary.
- Click OK.