Additionally, how do I turn on levels in Revit?
- Open the section or elevation view to add levels to.
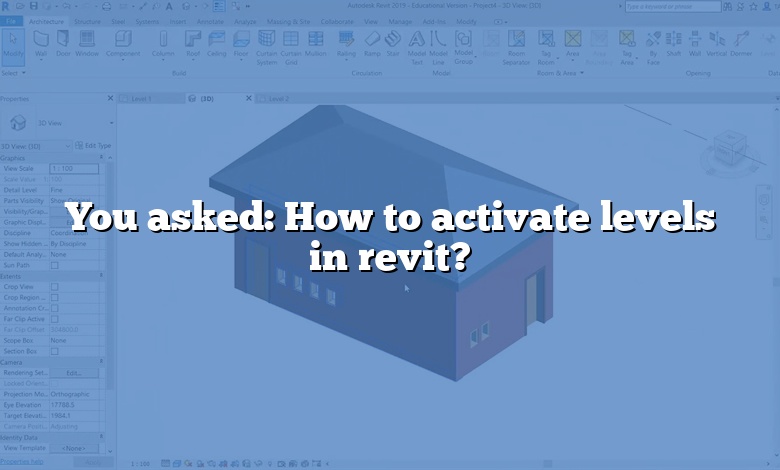
- On the ribbon, click (Level). Architecture tab Datum panel (Level)
- Place the cursor in the drawing area and click.
- Draw level lines by moving the cursor horizontally.
- Click when the level line is the correct length.
You asked, why are my levels not showing in Revit? Select the tag for the section or elevation with the missing levels (or select the crop region within the affected view). In the Properties dialog click the button for Far Clipping. Select the No clip checkbox and click OK. If the No clip setting doesn’t lead to a solution, try selecting Clip with Line.
Likewise, how do I open level view in Revit? Open the Visibility/Graphic Overrides dialog: click View tab Graphics panel (Visibility/Graphics), or use the keyboard shortcut v g. Click the Annotation Categories tab. In the Visibility column for Levels, select the check box to show levels in the view; clear the check box to hide them.
You asked, how do you show levels in plan in Revit?
- Set the Display to “Entire Project”.
- Set the Sort By to “Level”
- Set the filter to
- Select the elements you need to move.
- Look at the Properties palette for the Level property.
- If Level is an editable property for all elements, switch the level to the proper Level name.
How do you change level type in Revit?
- Open a section view, an elevation view, or a 3D view.
- Select the level line in the drawing area.
- In the Type Selector, select a different level type.
How do I get my Revit level back?
- Select the scope box tool in plan and draw a box to the full extents of your model.
- Go to an elevation and drag the boxes top and bottom points so the box contains all model elements.
- Draw a new level in elevation by either creating a new level or just copying an existing one up or down.
How do you unhide levels in Revit?
Select the element. Do one of the following: Click Modify |
How do you show elevation markers in Revit?
Float your mouse over the location of the markers. They will highlight. Right click. Show annotation in view.
How do I turn off level lines in Revit?
How do you show levels on a plan?
On a drawing or plan, it will be shown by a symbol placed at the exact spot where the level applies, followed by the numbers for the proposed or existing level. The examples below show three different ways of showing this. To indicate the slope and shape of the ground surface, you’ll use contour lines.
What is the use of levels in Revit?
Levels are finite horizontal planes that act as a reference for level-hosted elements, such as roofs, floors, and ceilings. When you delete a level, Revit also deletes associated views and model elements that are hosted by the level (for example: doors, furniture, and rooms).
How do you change level in Revit without moving model?
- Select objects (instances) you want to re-reference and keep in the same place.
- From list of existing levels in the project, choose a new reference level for the selection to be re-reference to.
How do you add a level tag in Revit?
- Open Revit, and on the Revit Home page, click New.
- In the Project Browser, under Elevations (Building Elevation), double-click South to open the South view in the drawing area.
- Zoom in to the level labels and values on the right.
- Click the label for Level 1, and enter 01 – Store Floor.
How do I change a level tag in Revit?
How do you set a level 0 in Revit?
What is HH command in Revit?
HH. HIDE ELEMENT / Hides an element from view. HI. ISOLATE ELEMENT / Isolates selected elements. HL.
How do you un hide in Revit?
Why are my elevation tags not showing in Revit?
– Make sure the elevation cut line is within the view crop region. – Make sure the view has a scale larger than the elevation’s “Hide at scales coarser than:” limit. – Check Discipline of the floor plan and elevation views.
Why are elevation tags not showing up in Revit?
This is occurring because the boundaries of the missing elevation views do not cross the boundary of that level. You will notice in the image below, that the one elevation mark (view) that I can see on level 3 is due to the fact that the crop boundary of the view crosses that level.
Where is the elevation tag in Revit?
In Revit, the default elevation marker is a circle symbol that allows you to reference up to four interior elevation views. The circle by itself is the elevation marker.
How do you hide level below in Revit?
Go to Solution. Change the View Properties to None for Underlays or the View Range if it has been changed to show the Bottom Primary depth or View Depth below the current view floor level. Reight-Click in the view and select View Properties or type in VP. worked.
How do you open a floor plan in Revit?
- Click View tab Create panel Plan Views drop-down, and then click. (Floor Plan)
- In the New Plan dialog: For Type, select a view type from the list, or click Edit Type to modify an existing view type or create a new view type.
- Click OK.
How do I show levels in Autocad?
On the Quick Access toolbar, click Project Navigator . Click the Project tab, and under Levels, click . If you want each new level to take its floor elevation from the height of the level below, click Auto-Adjust Elevation.
What is RL in plan?
Reduced level (RL): this is the height or elevation above the point adopted as the site datum for the purpose of establishing levels.